London darkroom …
I have started scanning some of my new prints. The below scans are exactly the same as real silver-gelatin prints, with no adjustments done in Photoshop.
Picture has been taken in Hatfield House Garden in July 2021.
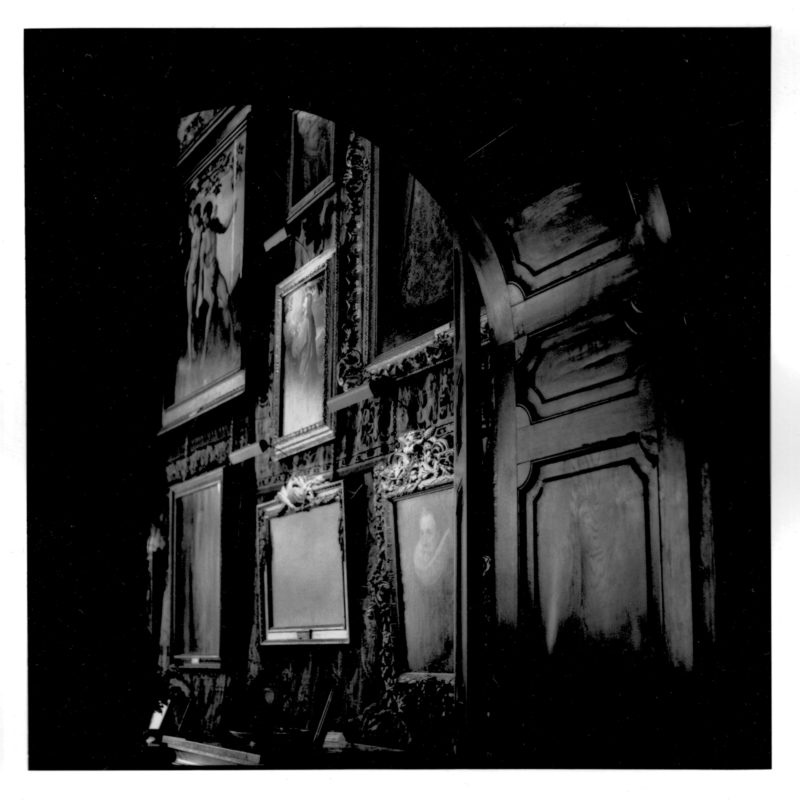
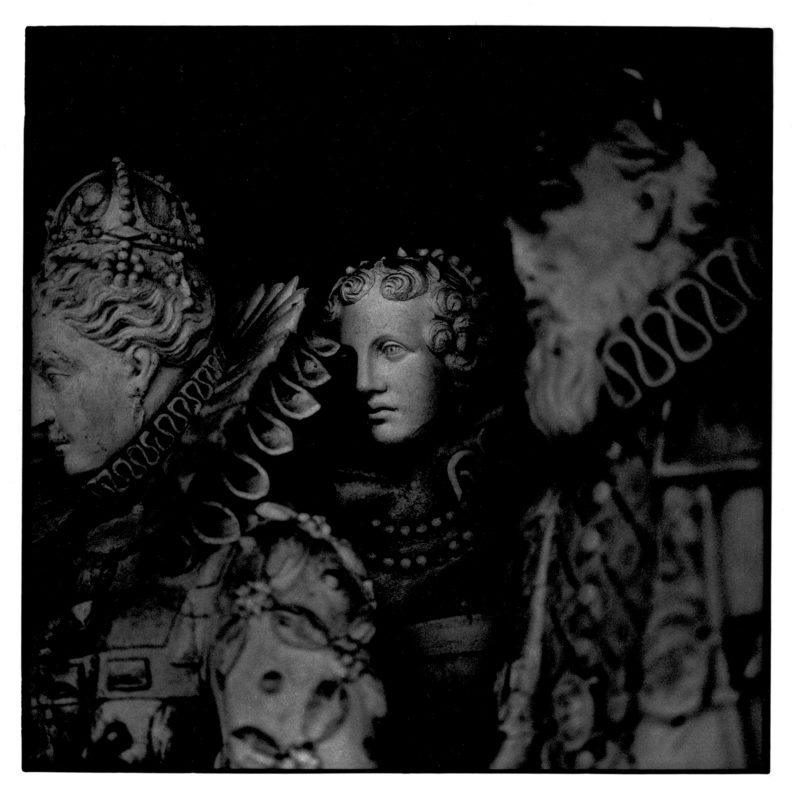
Picture from the Hatfield House drawing room, July 2021.
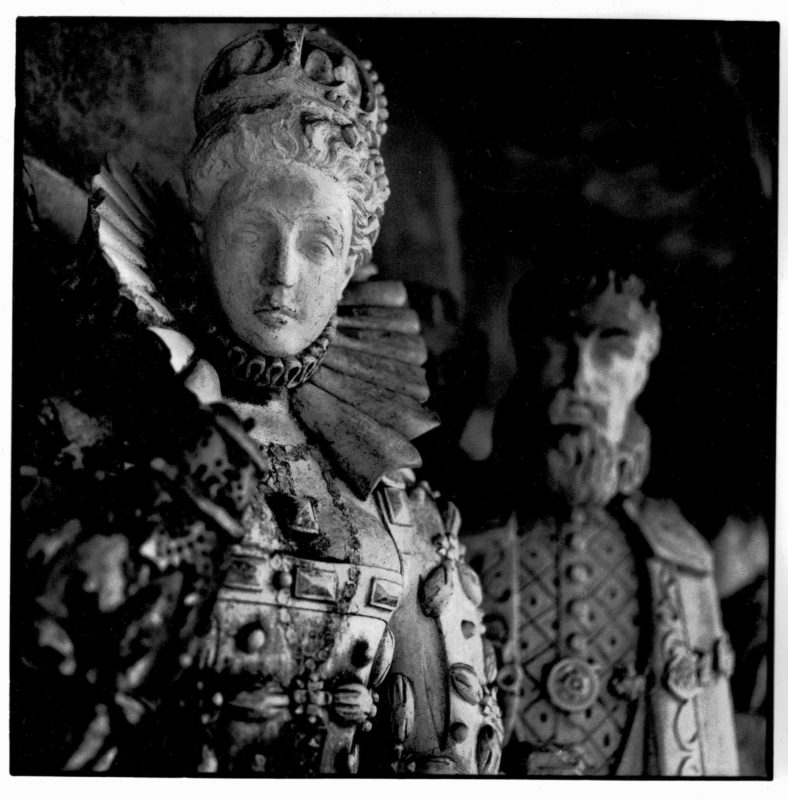
Sculpture in a Hatfield House Garden. Hatfield, 2021
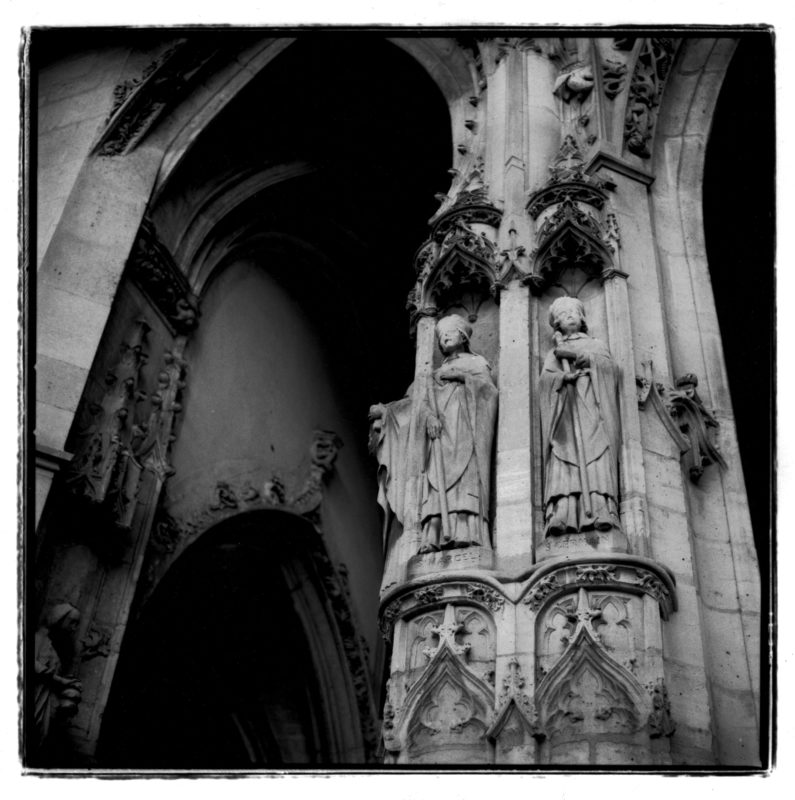
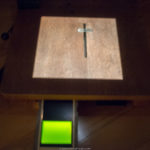
Church in Paris, 2019
Darkroom prints
I met Roy Snell…
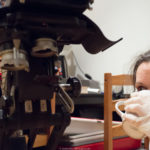
Hi Folks! That’s my London darkroom….
Finally I’ve managed to write this page about my London darkroom, despite many promises that I’ll do that quickly and much earlier 🙂
Hey!
I’ve found some more time to spend in my “darkroom”, which is in fact my kitchen. What important is, to read books! I’ve read all those which I’ve missed when I was youngster. I mean all Ansel Adams’ books: The Camera, The Negative and The Print. If you add to these Darkroom Cookbook….you’re there!
Here are some pictures from today. I hope you’ll like them as I’ve spent the whole day printing them! 🙂 After reading The Darkroom Cookbook I’ve made a decision to make all my chemicals myself. It’s hard to understand how is to tailor your result by adding some parts of one or other chemical. Changes are visible immediately and effects are stunning.
Have a look below a decide yourself.

Leather armchair put next to the window on Kensington High Street, London 2017

Flower, picture taken through the window. London 2017

Stone lies on the Thame River riverbank, London 2017

Waterfalls in London’s Trafalgar Square, London 2017

White flowers in Kensington Gardens, London 2017.
Short comparison between standard Ilford paper and Foma warm paper.
These kind of comparisons are very useful when someone is looking for a particular result. It’s often hard to say what the result will be without it. I hope you’ll find it useful.
[twentytwenty]

Guard sitting on a horse – print on a warm Foma paper.

Guard sitting on a horse
[/twentytwenty]
Here you can see some of my last prints I’ve developed.
I hope you’ll like them. Indeed not all of them are very good as I had more than month of beak from darkroom. I’ve noticed that immediately in quality of my work but I hope I’ll be able to do it better next time!


-

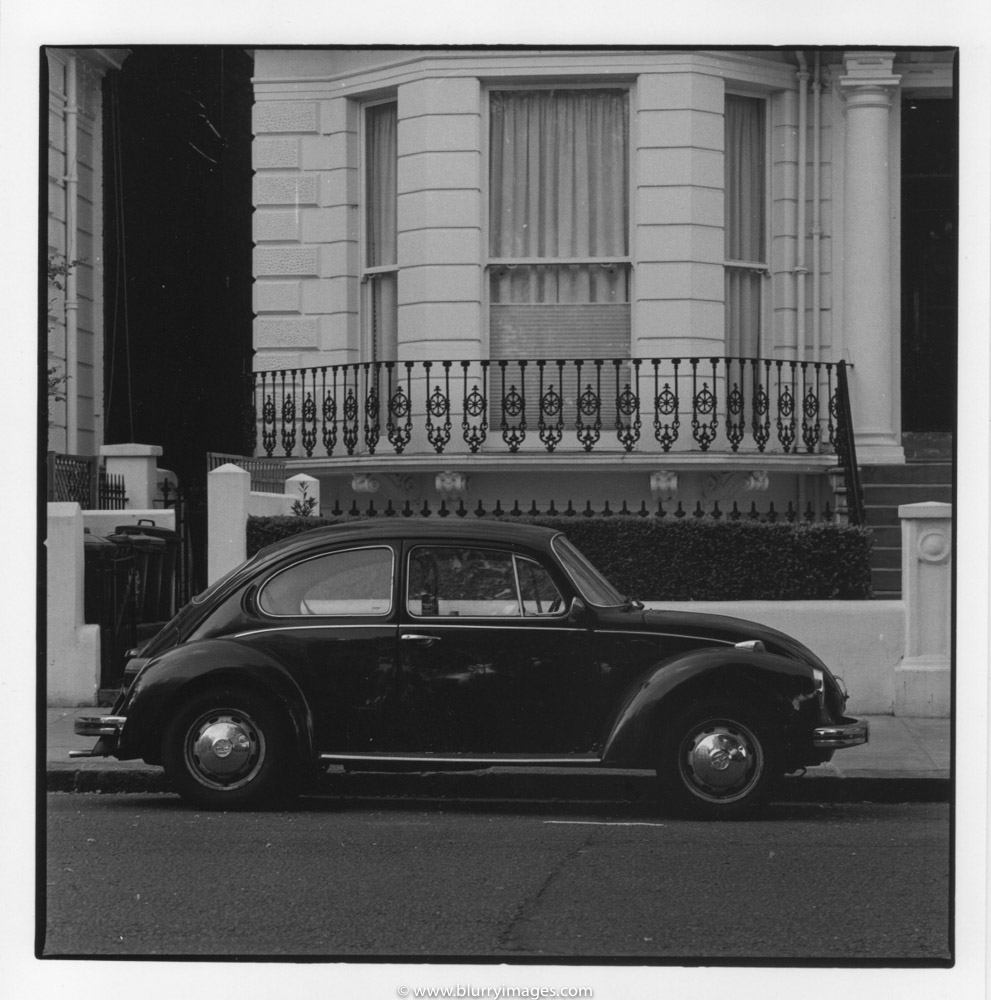
- Black VW Bettle in Notting Hill, London
-

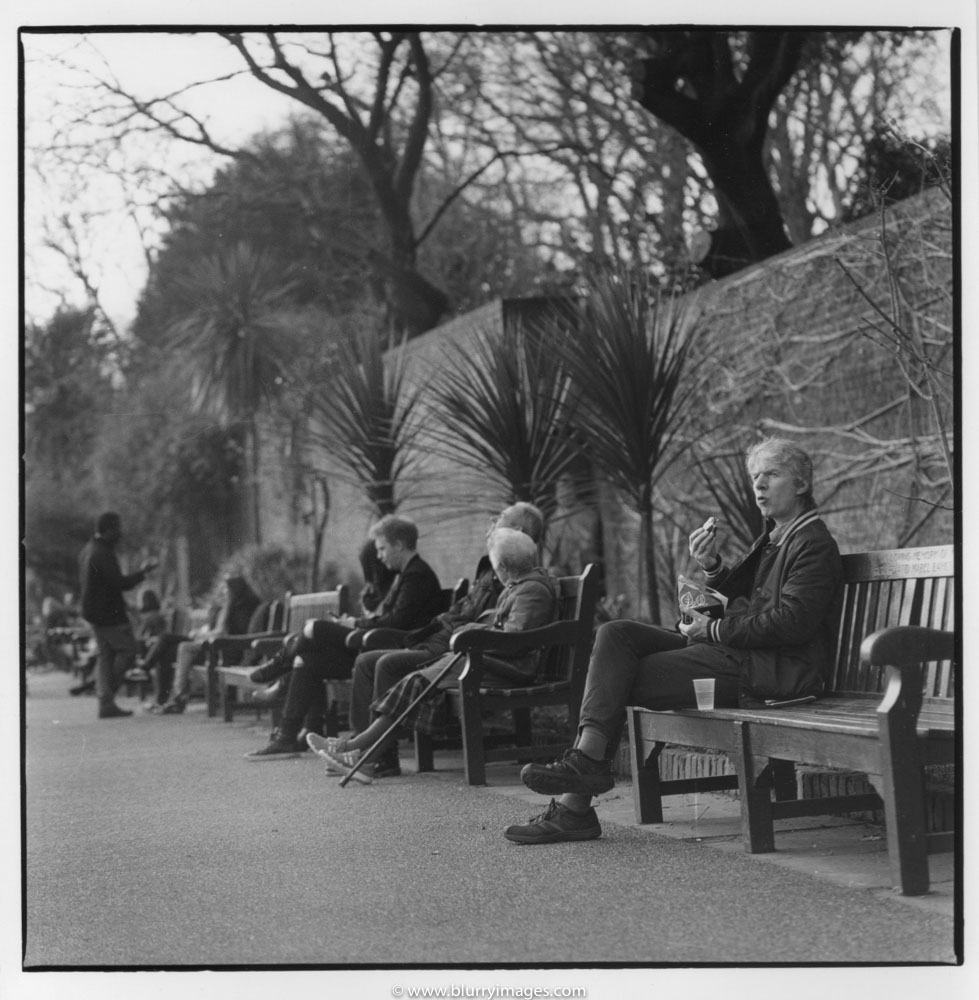
- Resting in Holland Park, London
-
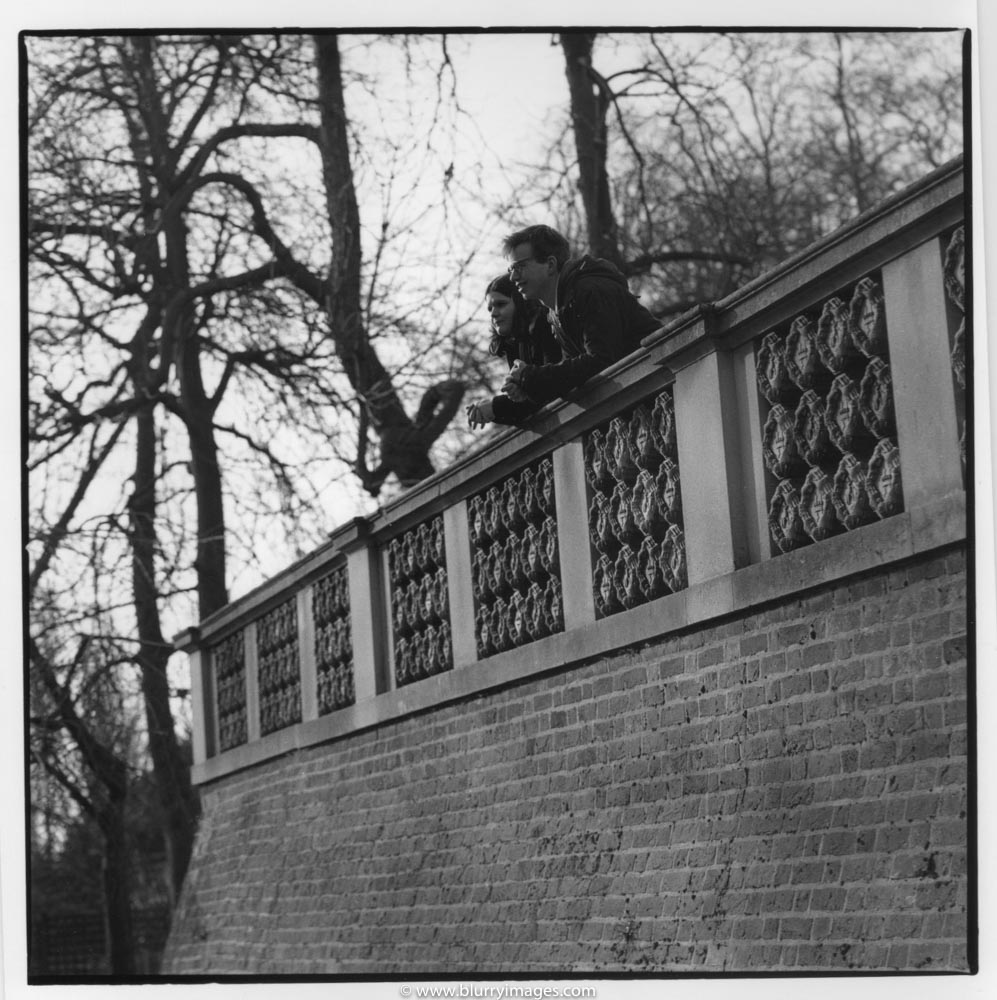
- Couple in Holland Park, London
-
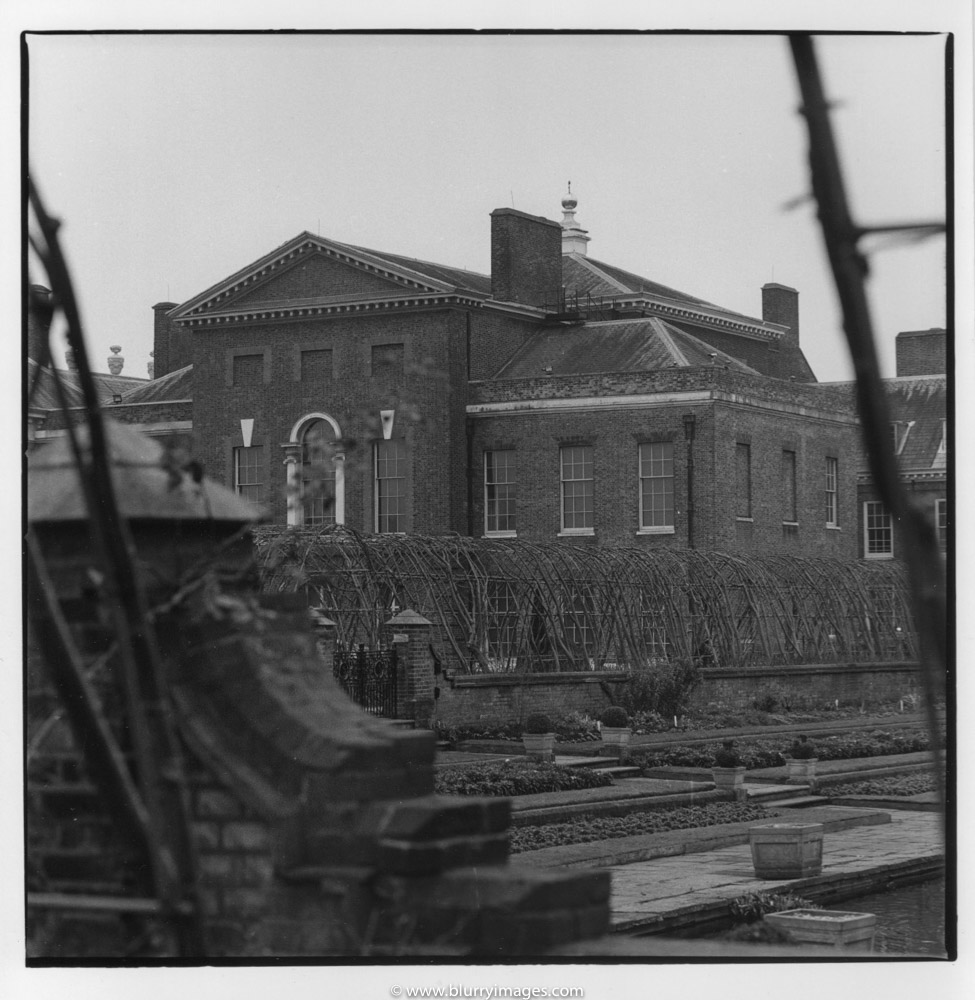
- Kensington Palace in London.
-

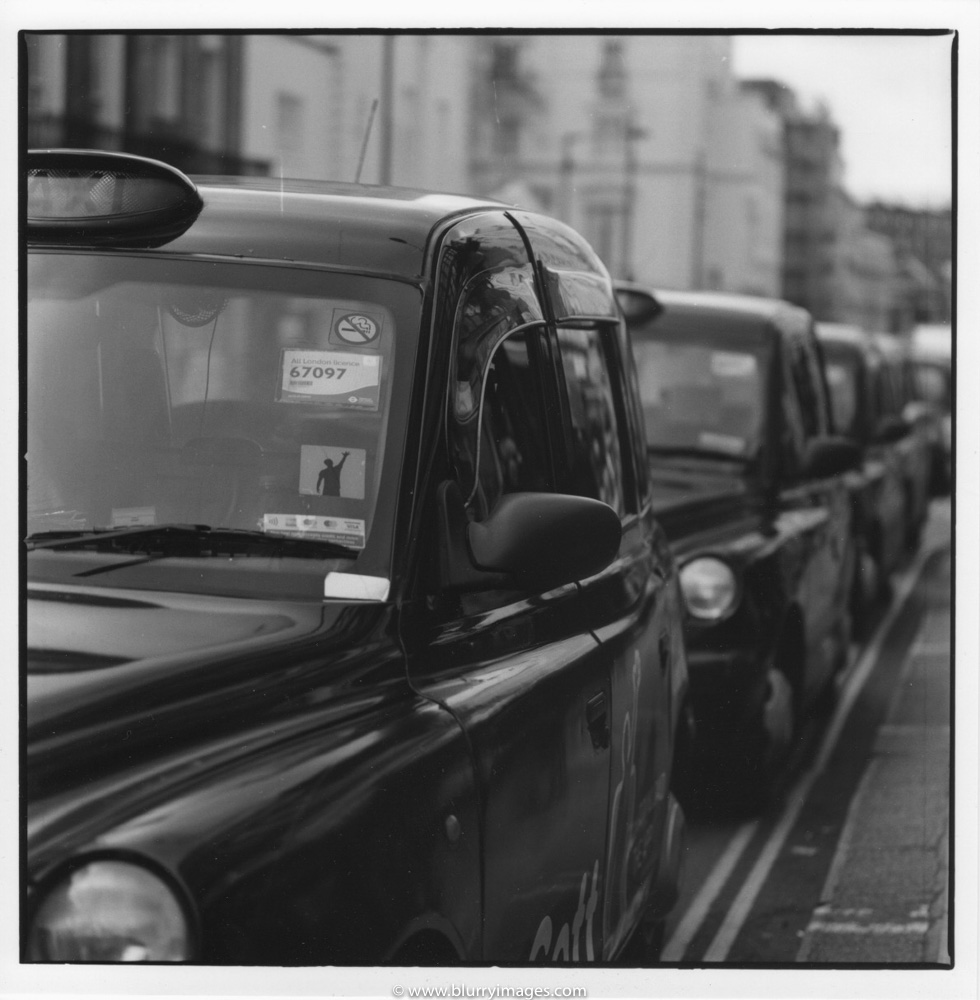
- Taxi cabs waiting for customers, London
-
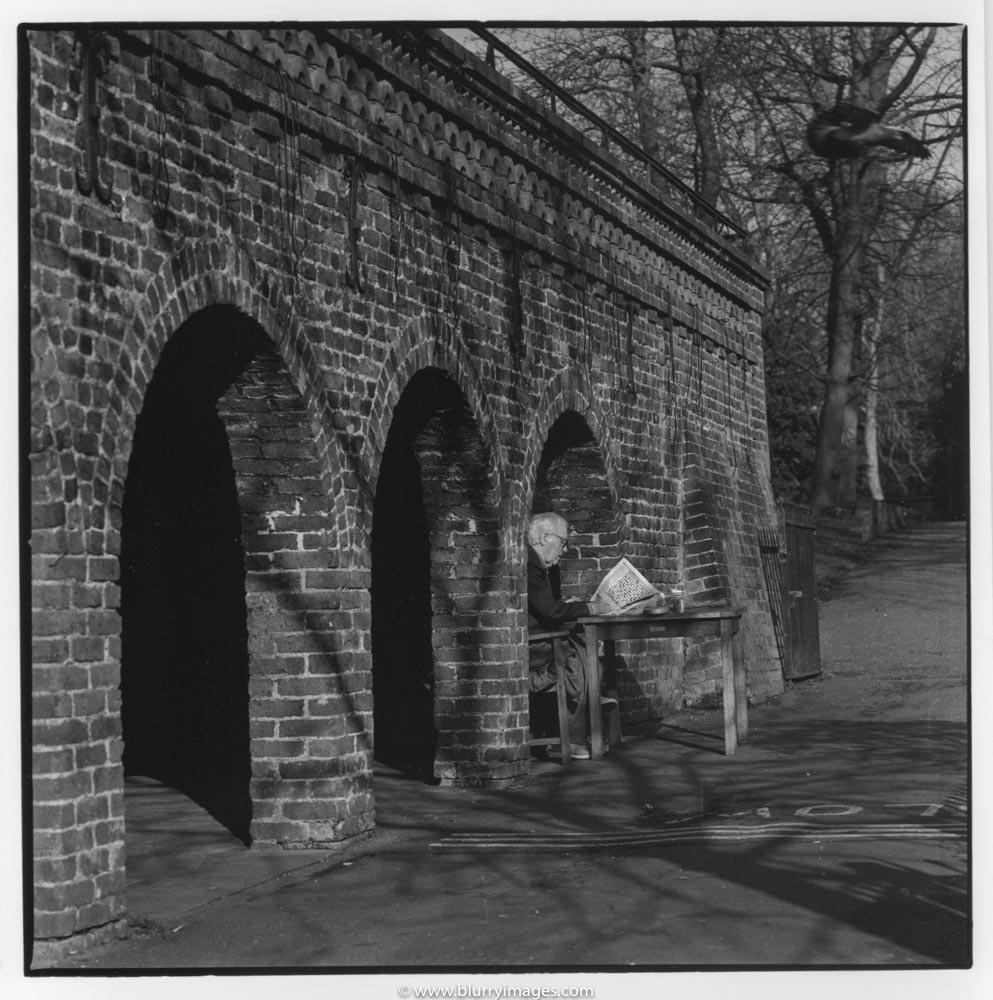
- Man with newspaper, Holland Park London
-

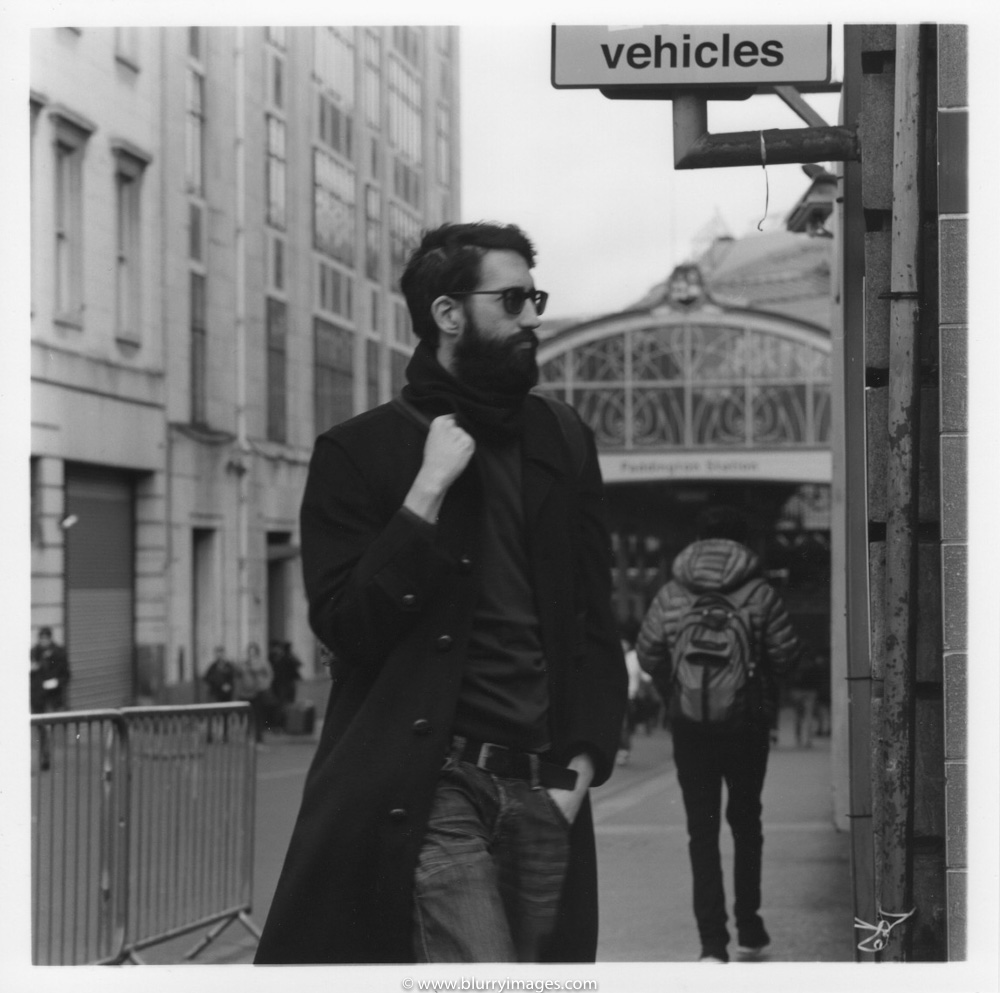
- Man with glasses on Paddington train station, London
-
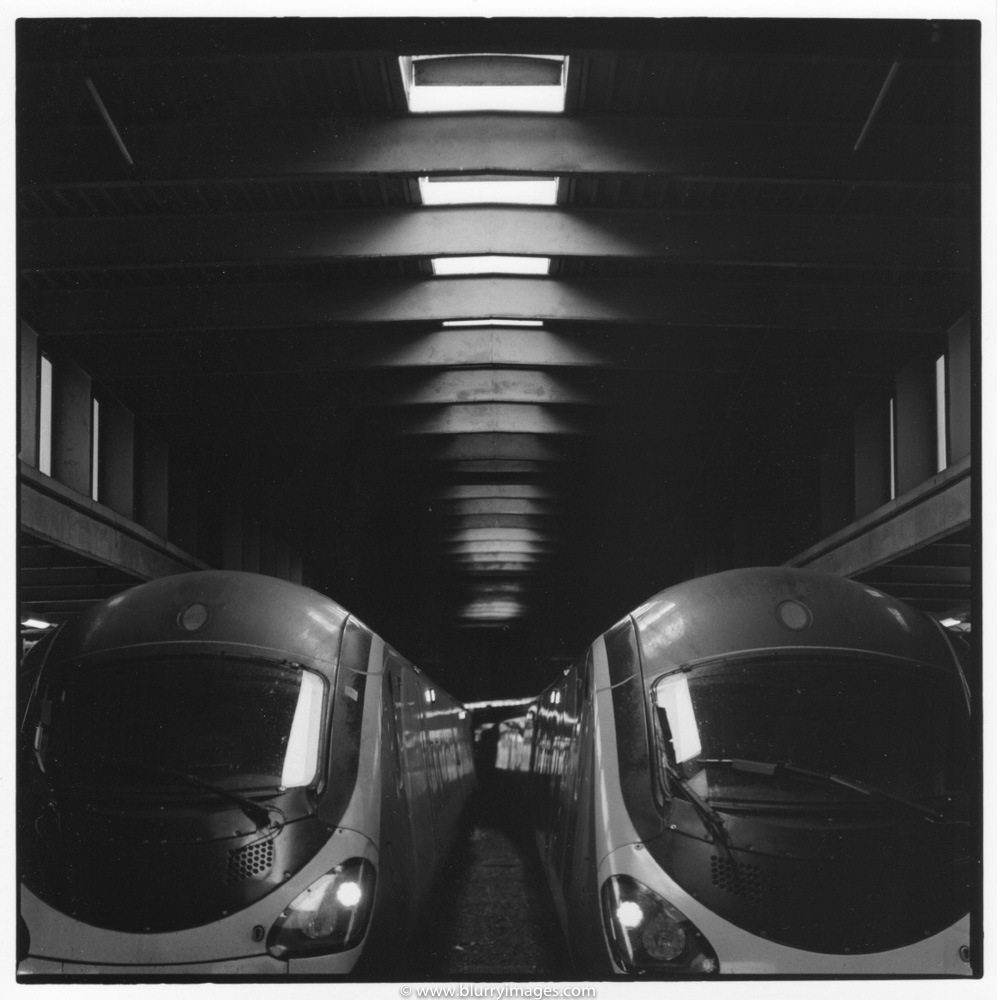
- Trains on Marylebone, London
-
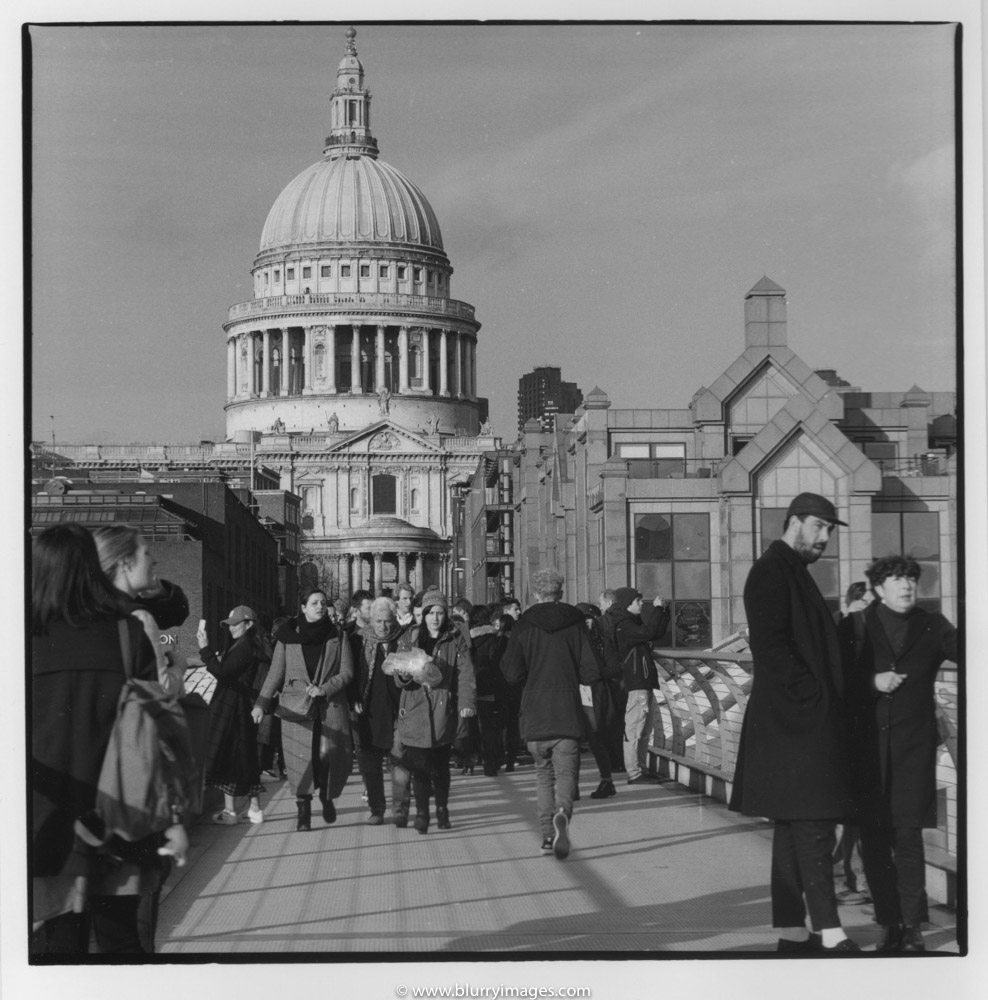
- Tourists on Millenium Bridge in London
-

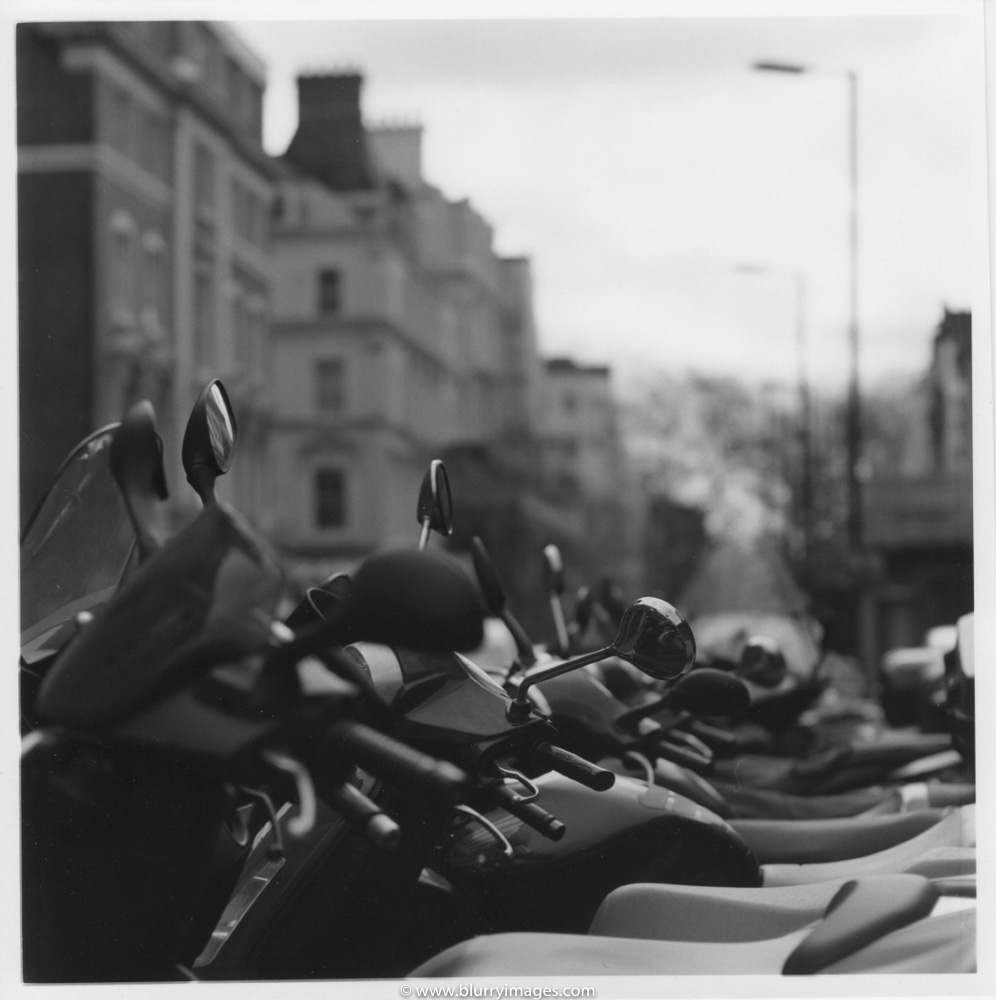
- Motorcycles parked on Paddington train station, London
-
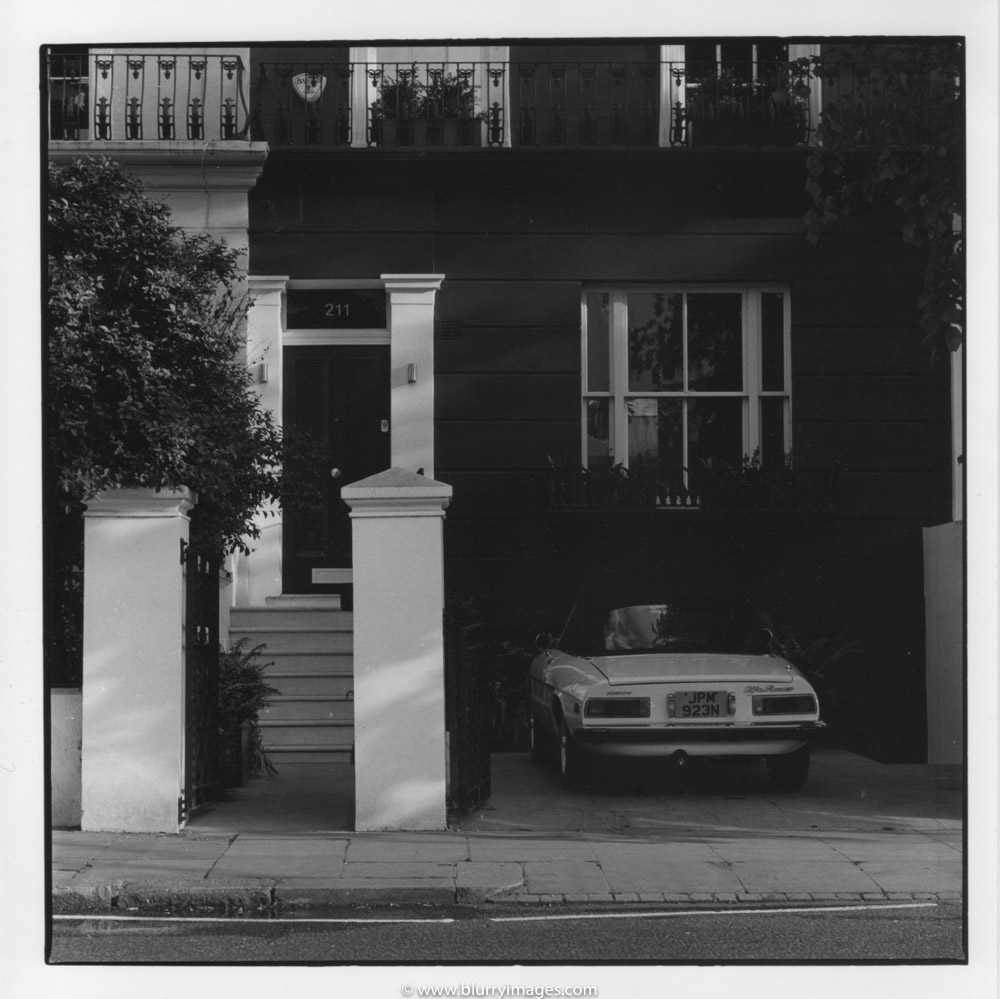
- Old sport car in London
-

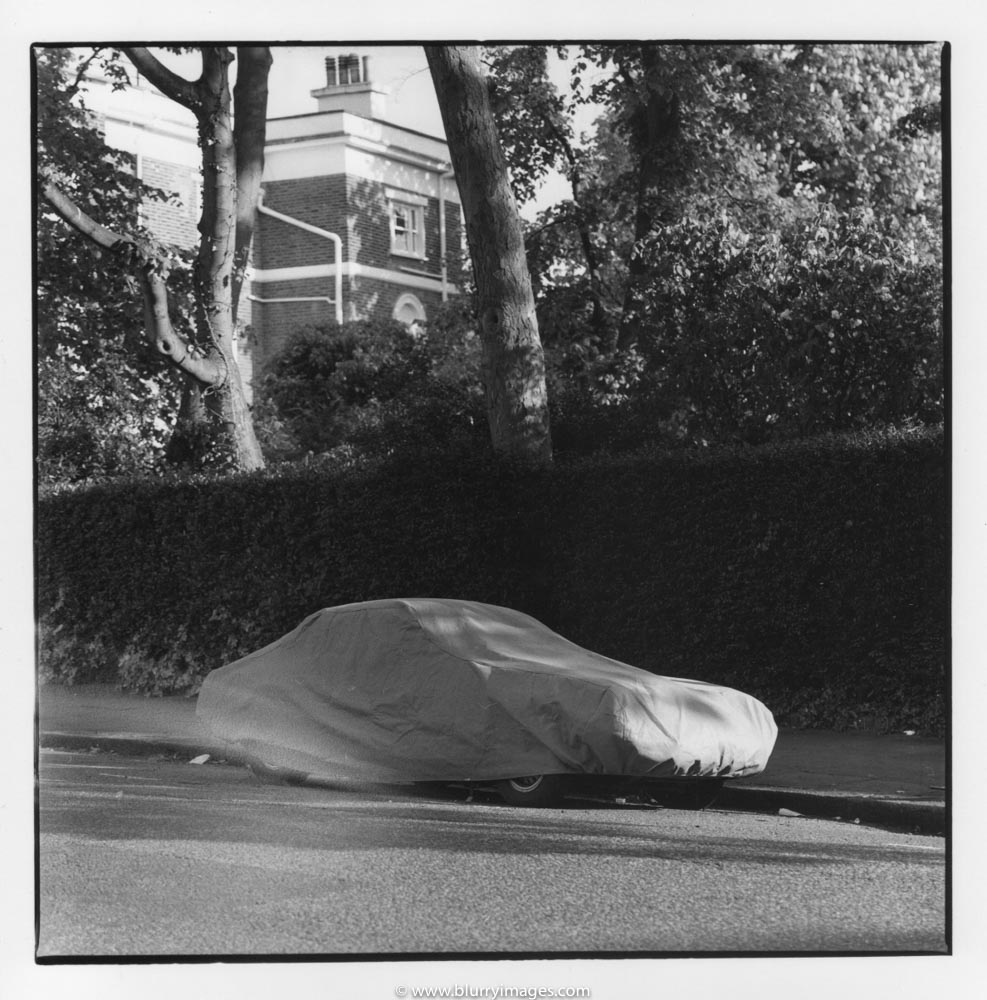
- Old car parked, London
-
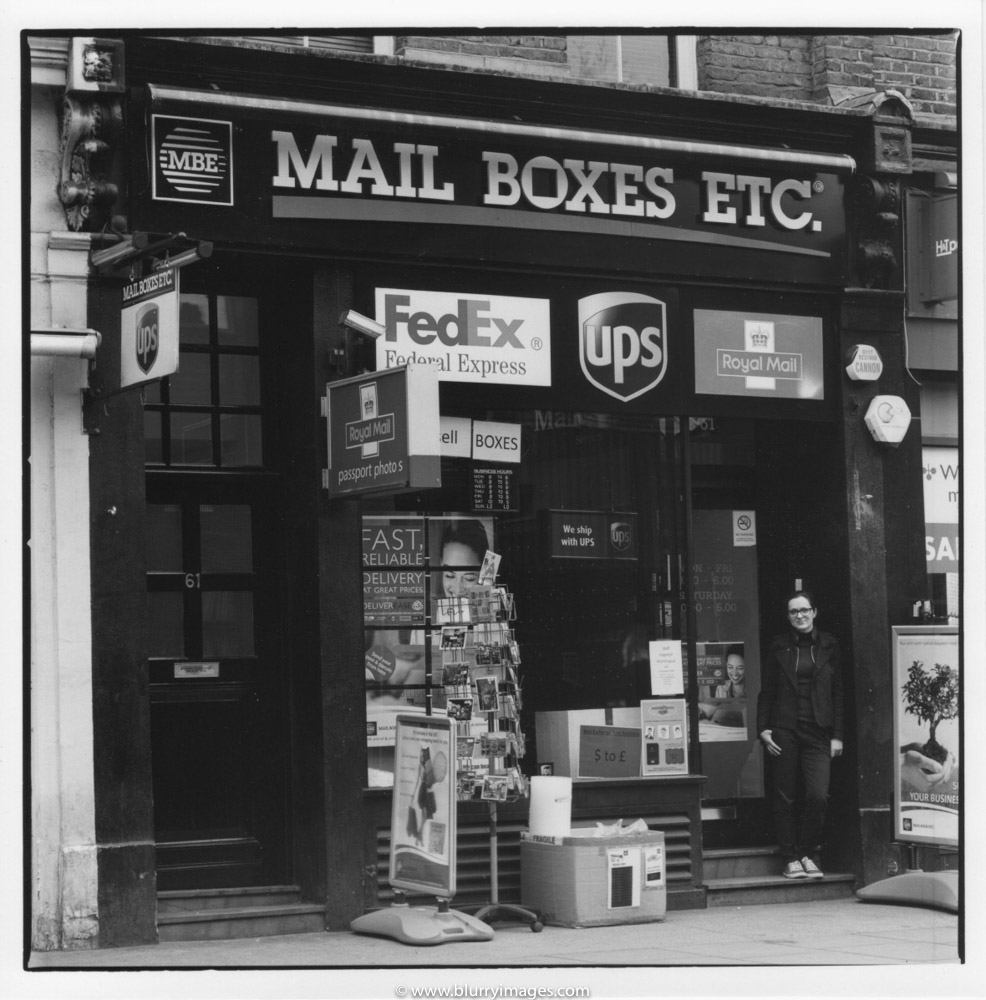
- Shop on Praed Street in London.
-
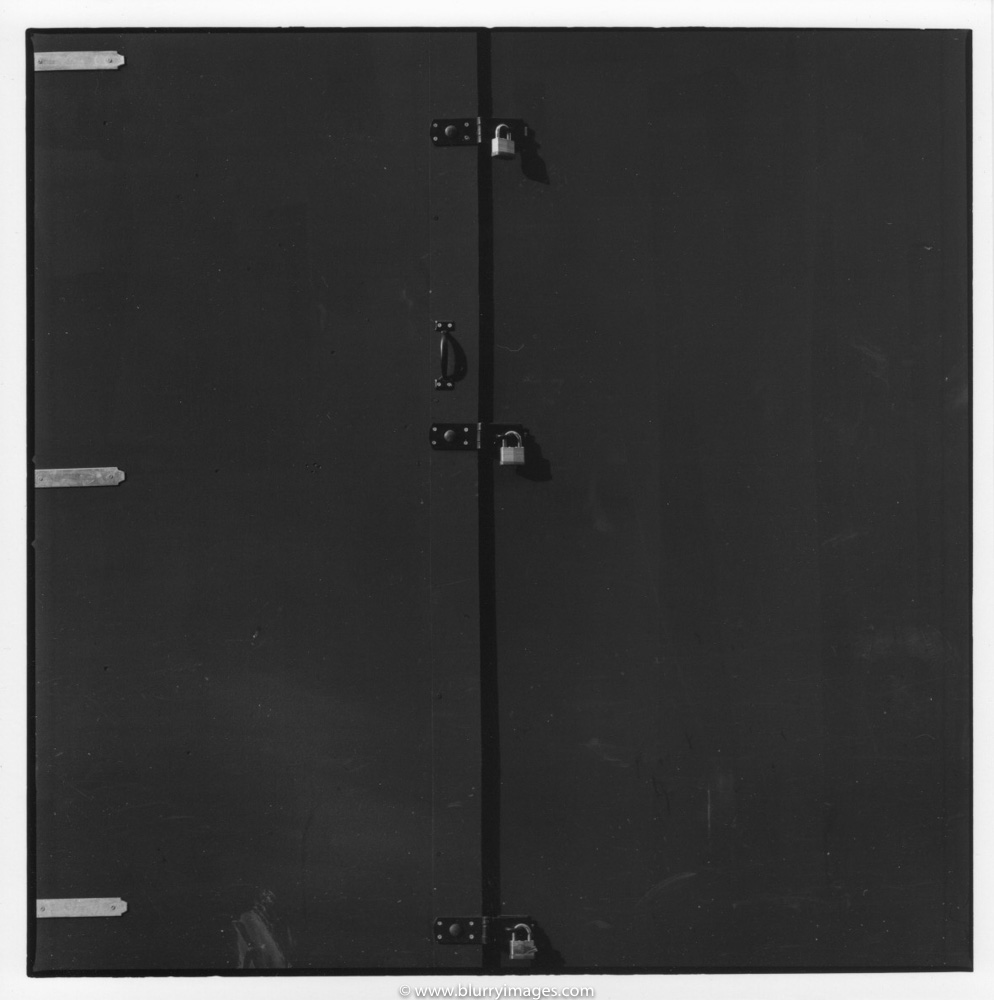
- Black door, Oxford Street, London
-
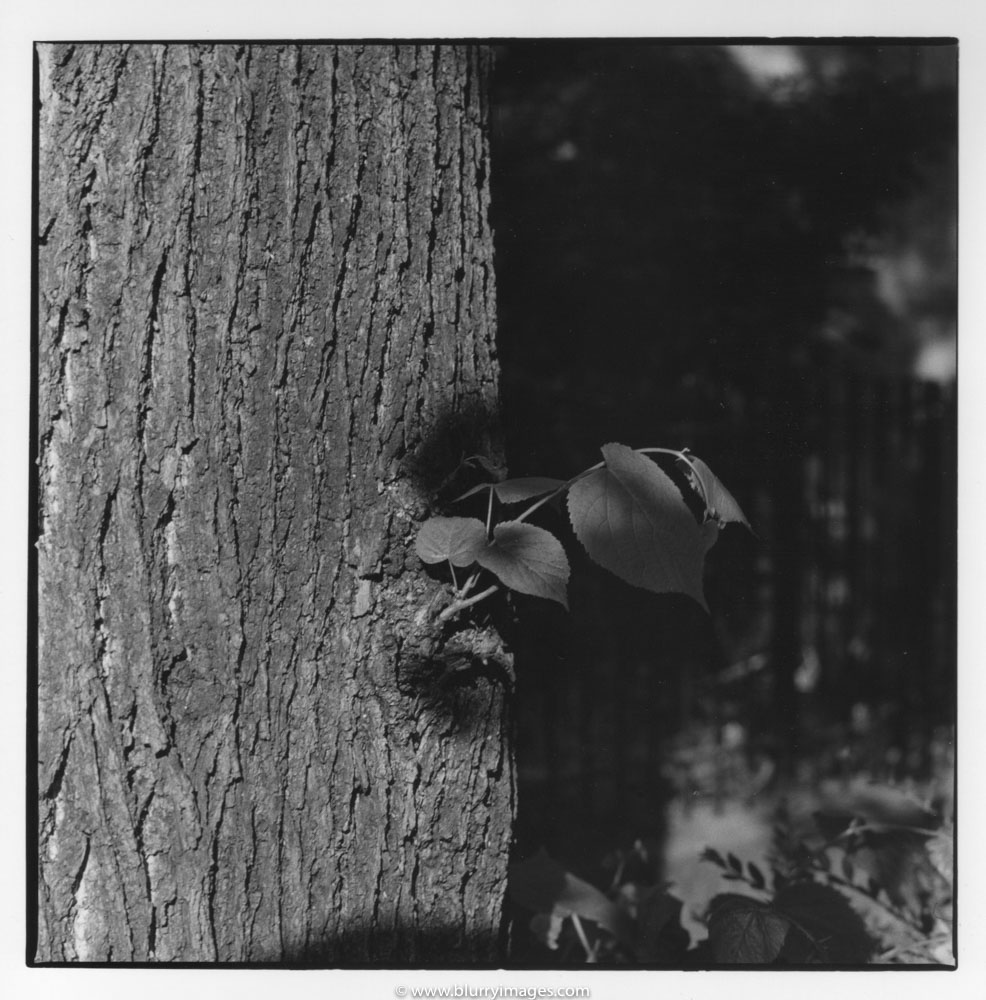
- Young leaves on tree, London
-

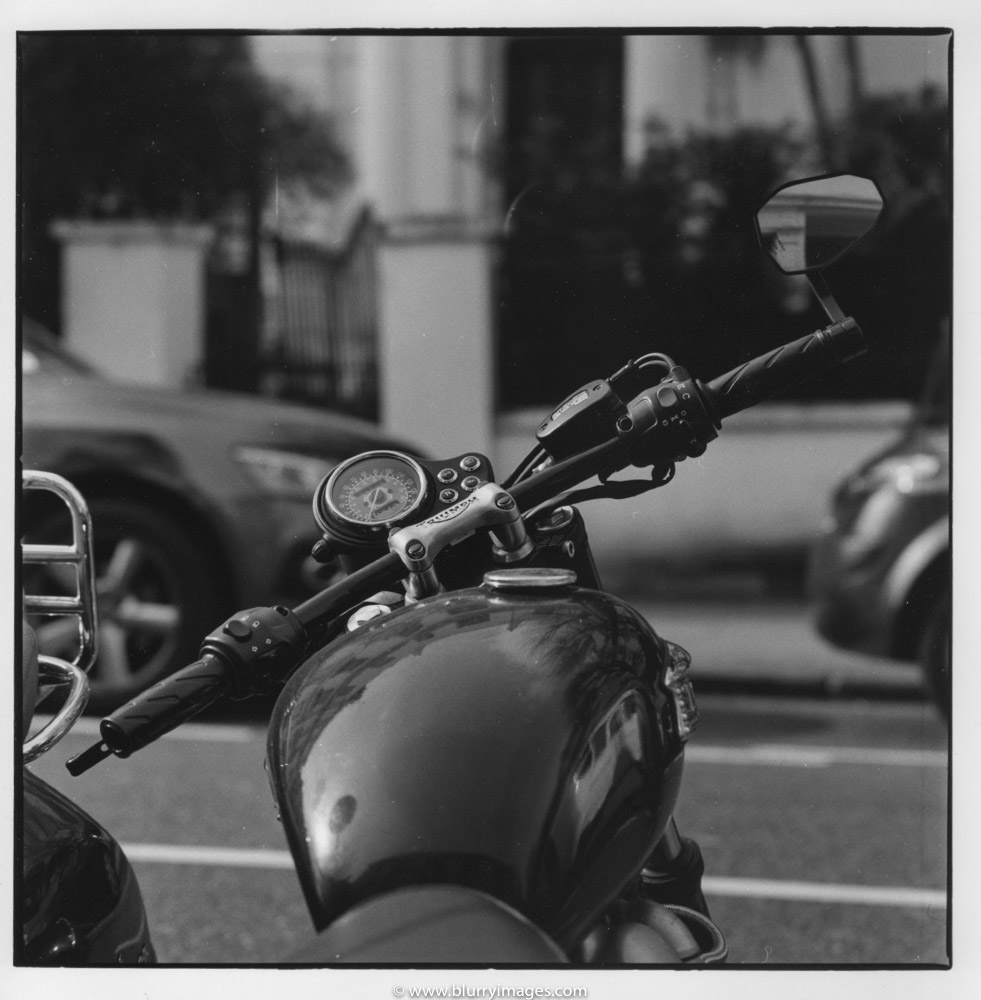
- Old Triumph Bonnevile
-
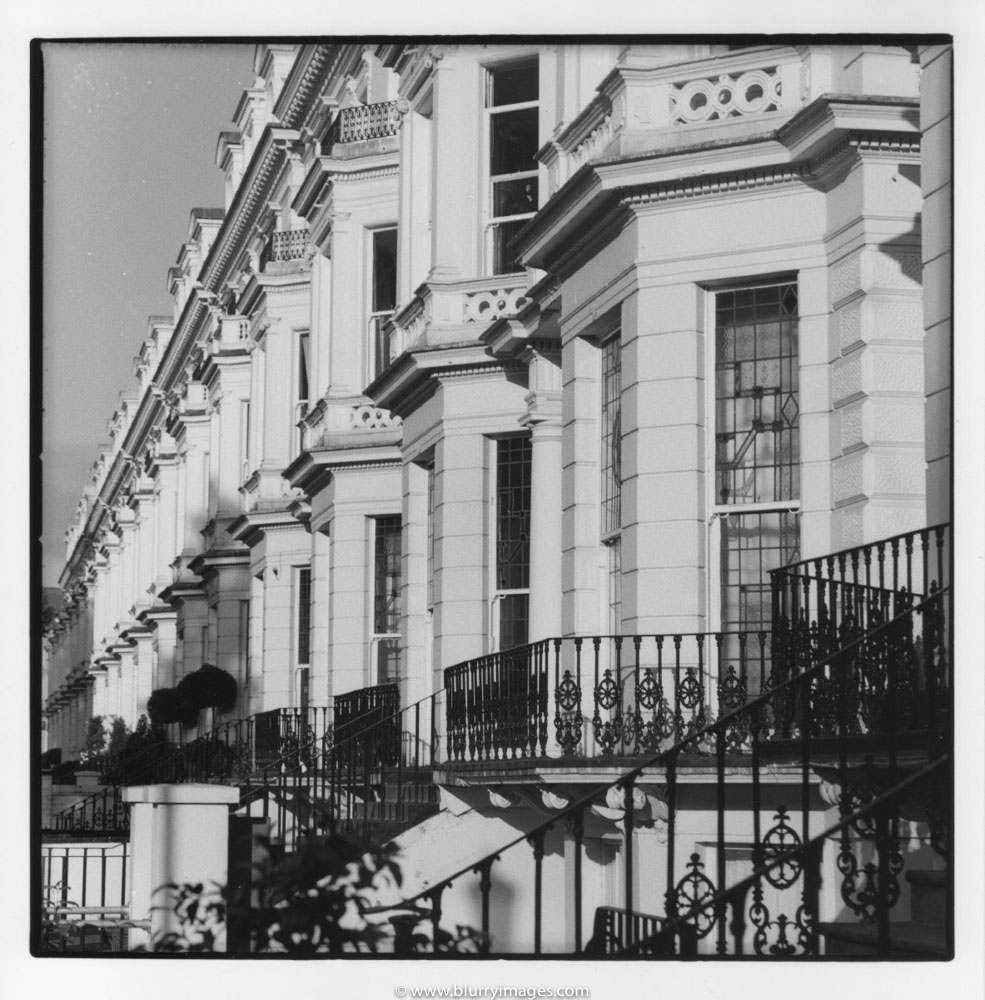
- Old Victorian terrace houses in London
-

- White windows in Notting Hill, London
-

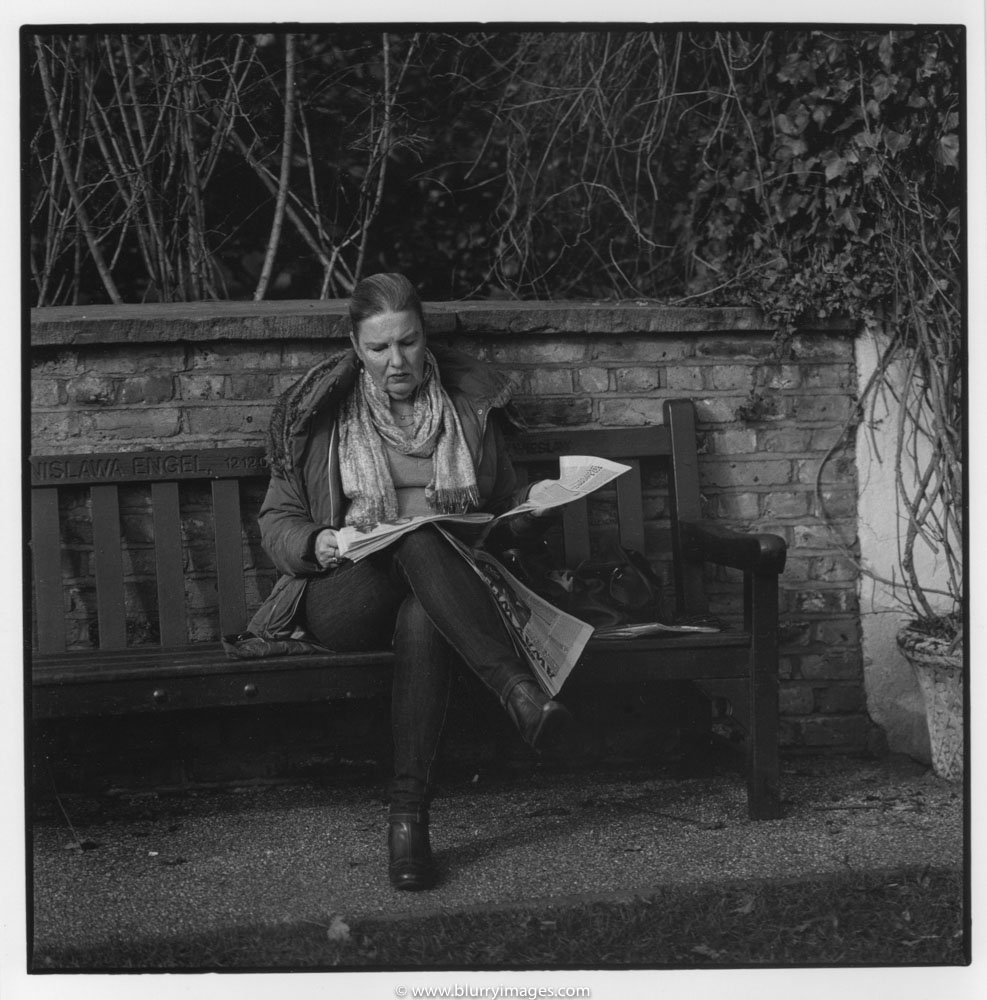
- Woman reading newspaper in Holland Park, London
I’d like to share with you my experience how is to print pictures by hand in perfect place, which is darkroom. In fact that place in my converted kitchen which is doing well as darkroom along as still a kitchen 🙂

Two prints on different paper – warm and regular
I’m going to show you my pictures,
developed film and prints scanned but WITHOUT any modifictions in Photoshop/Lightroom etc.. Photoshop kills such scanned picture and the whole sense of viewing edited picture that way.
I know I’m right as otherwise how you’d be able to determine if that “effect” has been achieved by my me or by PS? It happened to me many times. I was thinking “this is perfect print” when in real life it was a photoshopped scan.
Anyway, let’s start. 🙂
To prepare that place is that I must blackout all light sources. That’s a bit tricky as light even from a small lamp, street lamp or even moon goes easily into darkroom using every possible way, slits etc.
It is very difficult to cut-off all light sources and in my opinion, this is never ending story so it’d be much better to like this “task” than hate it 😉

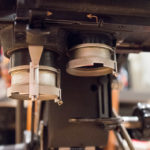
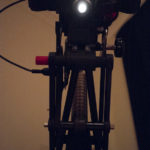
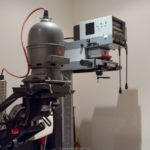
Durst Laborator L900 in darkroom
It is very dangerous
to wander on photographic shops as you will never know what can happen. Last week I’ve been in sitting in darkroom making prints. My friend, Durst Laborator 900 stopped turning off the light when timer went to 0 seconds on the counter. Hmm what can be wrong… I was thinking. First time I didn’t bother but a few minutes later the same story!
I’ve turned off my stuff and I’ve started to investigate. It turned out that EST 450 power supply is behaving wierdly. It usually becomes very hot and starts to buzzle but it never behaves like that. To not destroy it completely I’ve decided to stop printing that night and start investigation the following day.
My power supply is
an old piece of complicated electronic device and simply is not able to cope with the work which is ahead of it. I had to send it to the my friend. Mr. Stephen Horowitz who year ago repaired my amplifier. He said he’ll try to repair it. Thanks to guys from Apug.org, who send me electric diagrams of this device and of course thanks Mr. Mehlmann from Durst Germany, who is very helpfull every time!
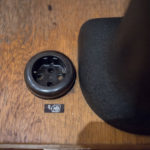
Coming back to
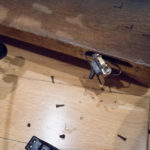
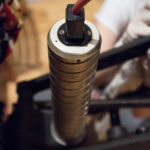
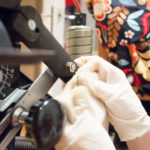
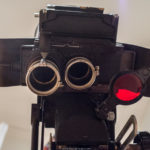
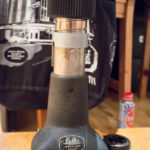
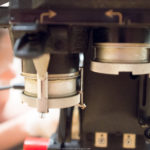
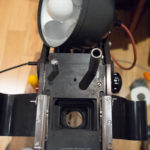
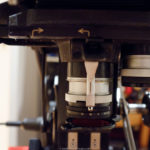
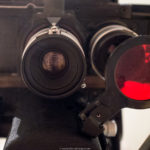
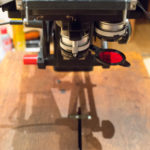
the wandering accoss photgraphic shops, I’ve met a dream of every darkroom enthusiast – Leitz Focomat IIc! When I entered to the store, it was there…in the middle….big, heavy, dirty! How it was you can see on the below pictures. It is hard to describe how many years were included in this leyers of dirt. On a first glance I’d say around 40!

Cleaning of Leitz Focomat IIc, London 2017
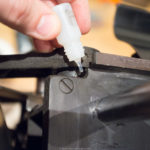
It took me and my
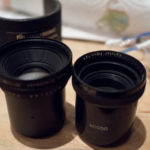
girlfriend, two hard days and a bottle of Porto wine, to clean it up. After that, all metal elements have been cleaned and showed their original beauty. What is most important is that I got there Focotar II 100mm lens which is top of the all lenses! Literally it is state-of-the-art among enlarger lenses ever made. Very often these lenses, if any of them is on the auction, it disappears within a few minutes!
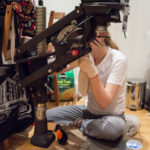
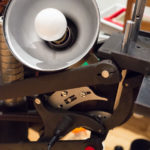
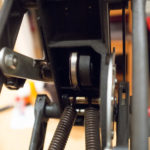
Below you can see how cleaning process looks like. It is hard work indeed. The plan is, it will be standing proudly next to the younger colleague, Durst L900.
-
- Cleaning of Leitz Focomat IIc, London 2017
-
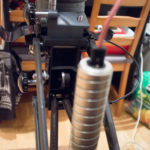
- Cleaning of Leitz Focomat IIc
-
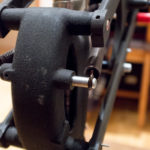
- Cleaning of Leitz Focomat IIc
-
- Cleaning of Leitz Focomat IIc
-
- Cleaning of Leitz Focomat IIc
-
- Cleaning of Leitz Focomat IIc
-
- Cleaning of Leitz Focomat IIc
-
- Cleaning of Leitz Focomat IIc
-
- Cleaning of Leitz Focomat IIc
-
- Cleaning of Leitz Focomat IIc
-
- Cleaning of Leitz Focomat IIc
-
- Cleaning of Leitz Focomat IIc
-

- Cleaning of Leitz Focomat IIc
-
- Cleaning of Leitz Focomat IIc
-
- Cleaning of Leitz Focomat IIc
-
- Cleaning of Leitz Focomat IIc
-
- Cleaning of Leitz Focomat IIc
-
- Cleaning of Leitz Focomat IIc
-
- Cleaning of Leitz Focomat IIc
-
- Cleaning of Leitz Focomat IIc
-
- Cleaning of Leitz Focomat IIc
-
- Cleaning of Leitz Focomat IIc
-
- Cleaning of Leitz Focomat IIc
-
- Cleaning of Leitz Focomat IIc
-
- Cleaning of Leitz Focomat IIc
-
- Cleaning of Leitz Focomat IIc
-
- Cleaning of Leitz Focomat IIc
-
- Cleaning of Leitz Focomat IIc
-

- Cleaning of Leitz Focomat IIc
-
- Cleaning of Leitz Focomat IIc
-

- Cleaning of Leitz Focomat IIc
-

- Cleaning of Leitz Focomat IIc
-
- Cleaning of Leitz Focomat IIc
-

- Cleaning of Leitz Focomat IIc
-
- Cleaning of Leitz Focomat IIc
-
- Cleaning of Leitz Focomat IIc
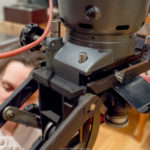
I’m totally happy
that ultimately after cleaning, all mechanisms are working as expected inlcuding autofocus mechanism. The only thing which was broken is a light switch which I’ve managed to buy on Ebay for £18 – not bad I think.
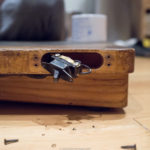
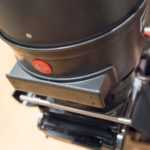
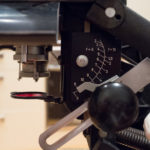
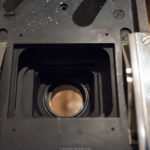
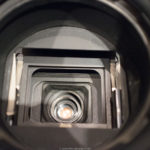
What is great in this enlarger is a constructor’s mind. Please take a look on its drawer where you can place and align properly a single negative frame. To avoid problems the drawer is lit from the bottom! Additionally that frame can be kept in the position using built-in holder. That’s incredible…

Cleaning of Leitz Focomat IIc
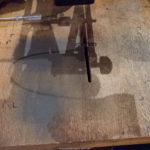
And here some more pictures from my darkroom in London of its baseboard before, in the middle of cleaning and after cleaning. It’s enough to say that this enlarger has been “in use”.

Cleaning of Leitz Focomat IIc
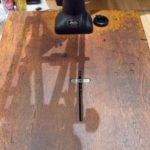
…in the middle of work…

Cleaning of Leitz Focomat IIc
Almost cleaned up here with still some marks yet, but no worries – those are wipe up already 😉

Cleaning of Leitz Focomat IIc
Please note that if you’re looking for darkroom in London for hire, you can use Internet (London darkroom ?) in the search or you go straightforwardly to the Photofusion where you can print almost all own negatives.
Developing pictures
Some good and interesting information about how good pictures can be you can find here. It is hard to not be surprised seeing all these changes which need to be done to achieve these results!